
Introduction:
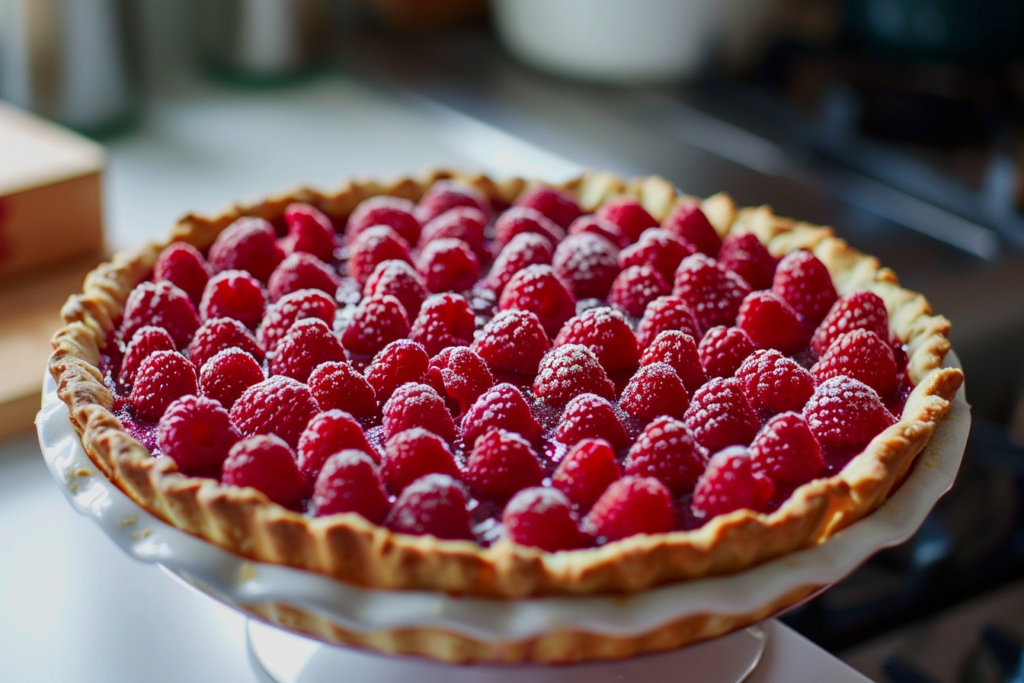
This Raspberry Custard Pie is a delightful dessert that combines the tangy sweetness of raspberries with a creamy custard filling, all nestled in a flaky pie crust. It’s the perfect treat to enjoy with a cup of tea or coffee on a relaxing afternoon. This recipe serves 8 and takes about 1 hour to prepare and bake.
Preparation time: 20 minutes | Cooking Time: 40 minutes | Total Time: 60 minutes | Serves: 8
Ingredients:
- 1 9-inch pie crust, pre-baked
- 1 cup fresh raspberries
- 1 cup whole milk
- 1/2 cup granulated sugar
- 3 eggs
- 1 teaspoon vanilla extract
- 1/4 teaspoon salt
- 1/4 cup all-purpose flour
Instructions:
- Preheat the oven to 350°F (175°C).
- Arrange the raspberries in the pre-baked pie crust.
- In a mixing bowl, whisk together the milk, sugar, eggs, vanilla extract, salt, and flour until smooth.
- Pour the custard mixture over the raspberries in the pie crust.
- Bake for 40 minutes or until the custard is set and the top is lightly golden brown.
- Allow the pie to cool before serving. Enjoy!
Nutrition Information:
Calories: 250 || Protein: 5g || Carbohydrates: 35g || Fat: 10g
What I Love About This Recipe?
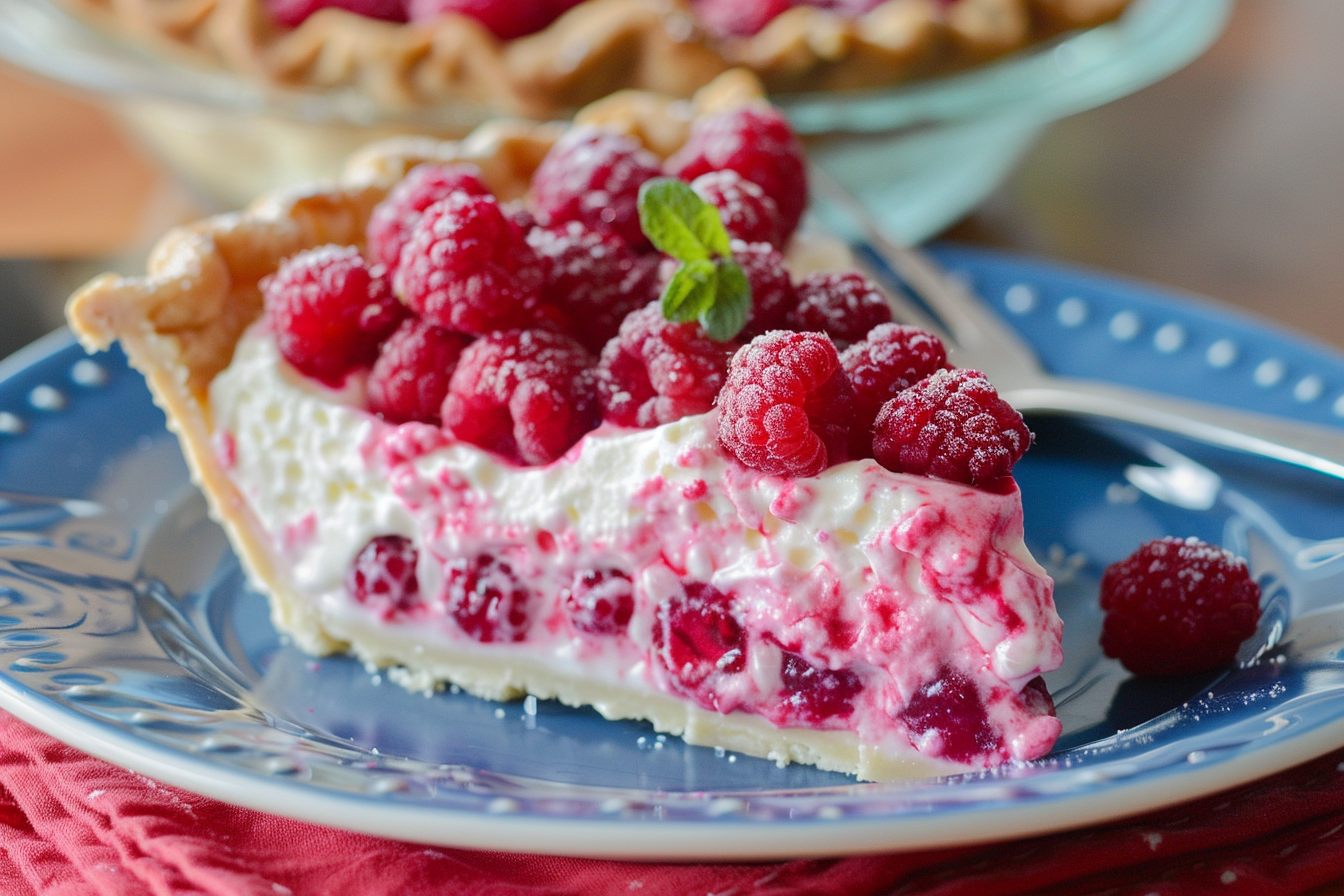
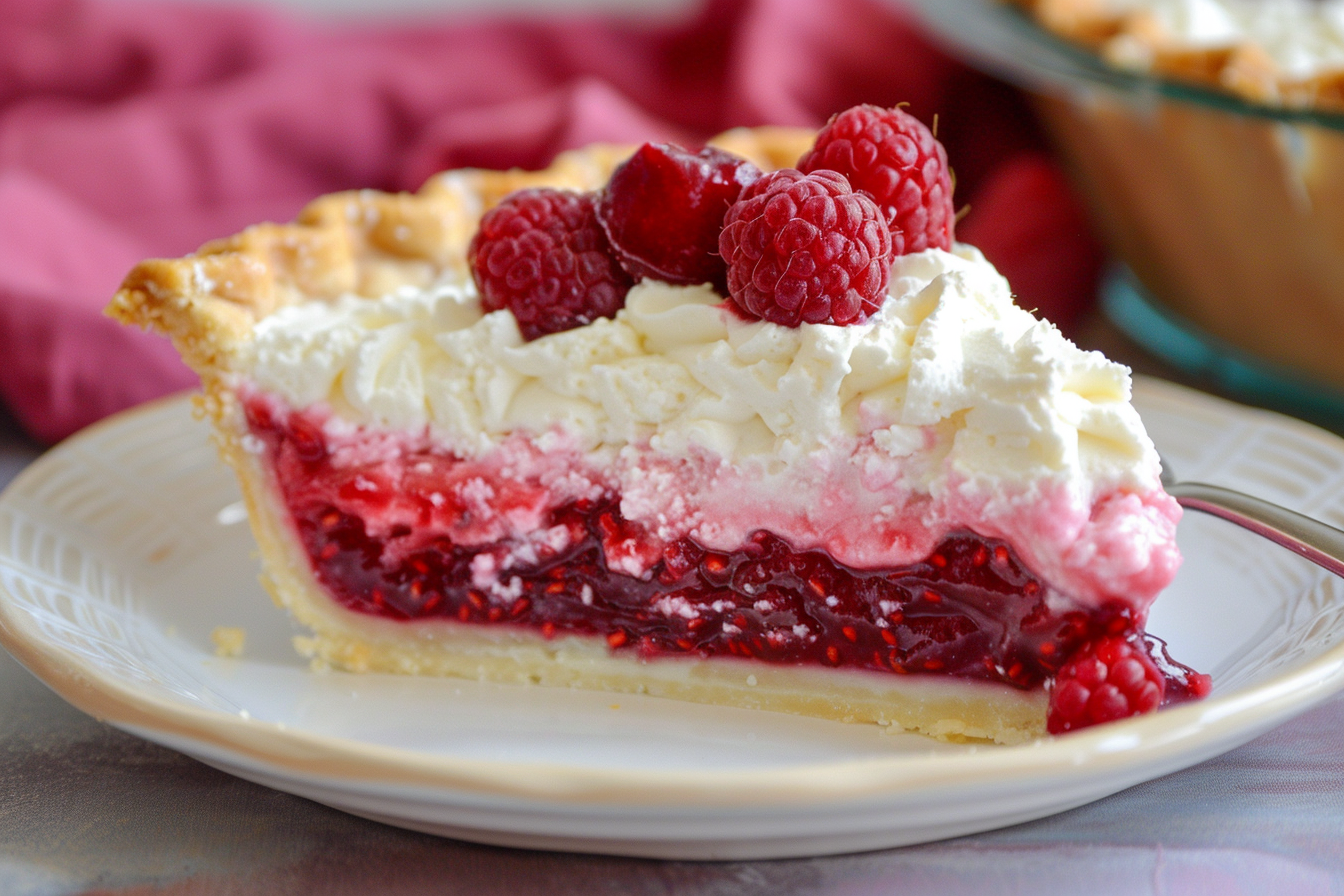
- The combination of sweet raspberries and creamy custard is simply divine.
- The pie crust adds a nice crunch to contrast with the smooth filling.
- It’s easy to make and always impresses guests at potlucks or dinner parties.
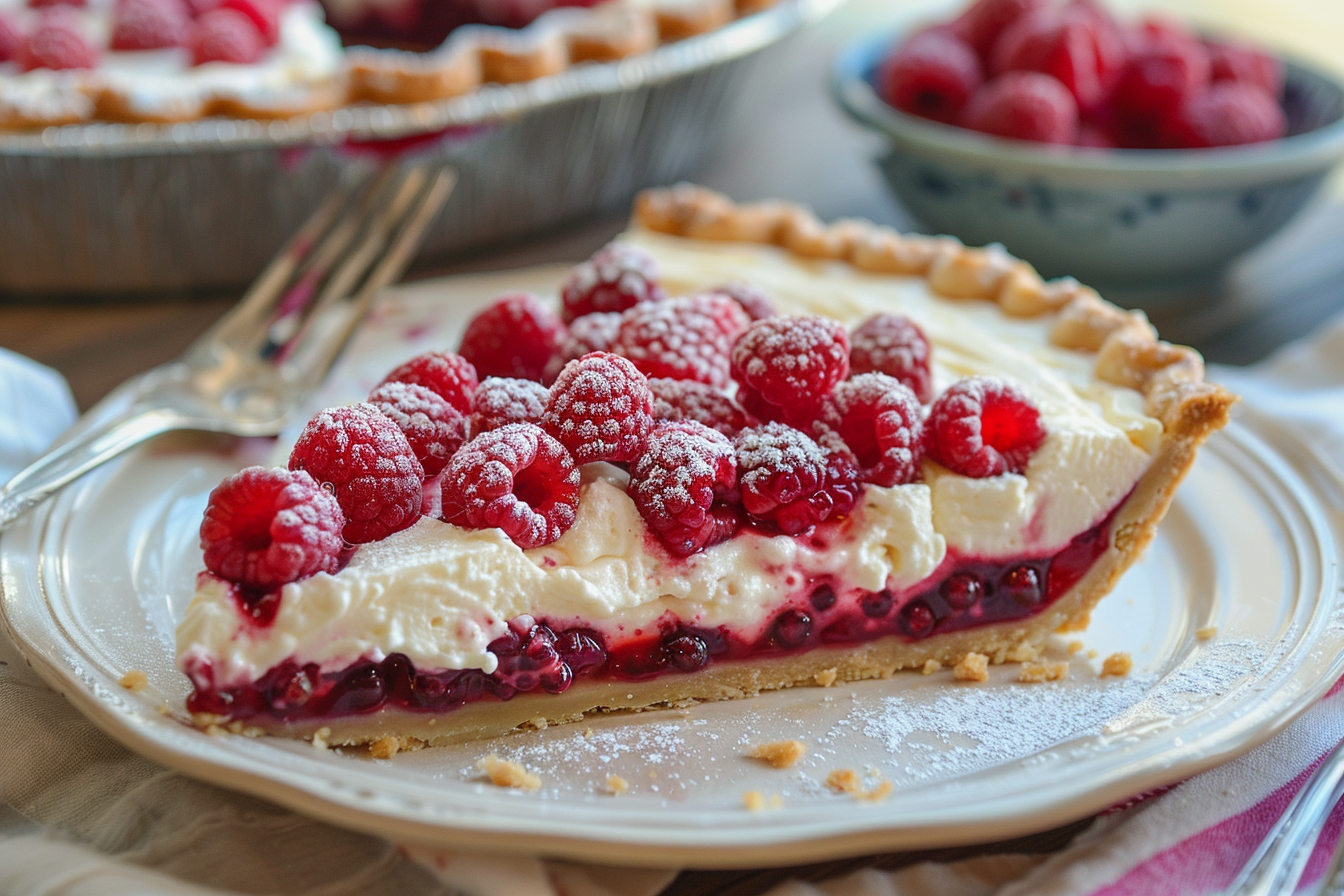
- The flavors marry beautifully after sitting for a few hours, making it a great make-ahead dessert.
- The vibrant color of the raspberries makes it visually appealing as well.
What To Avoid While Making this Recipe?
- Avoid overmixing the custard filling, as this can lead to a dense texture in the pie.
- Make sure to pre-bake the pie crust before adding the raspberries and custard to prevent a soggy bottom.
- Be careful not to over-bake the pie, as it can cause the custard to curdle or the crust to burn.
- Use fresh raspberries for the best flavor and texture in the pie.
- Allow the pie to cool completely before slicing to ensure clean and neat cuts.